
Secure your SSH with Wireguard in Posts
Local and remote access, without the worry!
Oh terminal, my beloved! How I do enjoy being able to log into my various devices from wherever I may be and control them from the terminal. To do that we commonly use SSH. Locally it works quite simply, but what about being away from the same silly rounded box that calls itself a router?
Port forwarding SSH on the router, commonly at :22 is the start of an answer. But we must remember, the easier it is for us to access the device the easier it is for malicious actors to as well.
There are steps to improve security with just portforwarding; disable username/password auth in favor of public key authentication only, change the default SSH port to a less guessable number, and implementing a system like fail2ban to lockout anyone who fails to login too many times.
But what if there was something safer yet easy to work with?
Enter: Wireguard
Many people have dabbled in VPN’s if only because Nord won’t hush about them during YouTube ads. They’re particularly popular in the workplace to not only secure a connection, but create a bridge between an employee’s device and the workplace’s network.

Wireguard is one such VPN. It’s free and luckily for us there’s wg-easy that can spin up a Docker instance that contains the VPN and a user-friendly user-interface. The installation is straightfroward and well documented.
Alternatively, below I’ve listed the Docker Compose which is my preference; simply save the code below in a file such as docker-compose.yml and in the same directory run docker compose up (with --detatch to let it run in the background). Note you’ll need to change the PASSWORD_HASH leveraging something like bcrypt-generator.
services:
  wg-easy:
    environment:
      - LANG=en
      - PORT=51821
      - WG_HOST=myserver.local
      - PASSWORD_HASH=$$example$$password$$hash # Use a bcrypt hasher like https://bcrypt-generator.com/ but any $'s need to be doubled here
      - UI_TRAFFIC_STATS=true
      - UI_CHART_TYPE=1
      - AllowedIPs=0.0.0.0/0, ::/0
    image: ghcr.io/wg-easy/wg-easy
    container_name: wg-easy
    volumes:
      - ./wireguard:/etc/wireguard
    ports:
      - "51820:51820/udp"
      - "51821:51821/tcp"
    restart: unless-stopped
    cap_add:
      - NET_ADMIN
      - SYS_MODULE
    sysctls:
      - net.ipv4.ip_forward=1
      - net.ipv4.conf.all.src_valid_mark=1
yaml
Adding a User & Connecting
Wireguard offers many device clients to connect to your new VPN including for Linux, Mac, Windows, iOS and Android. I personally have the Android client installed to manage my server from afar!
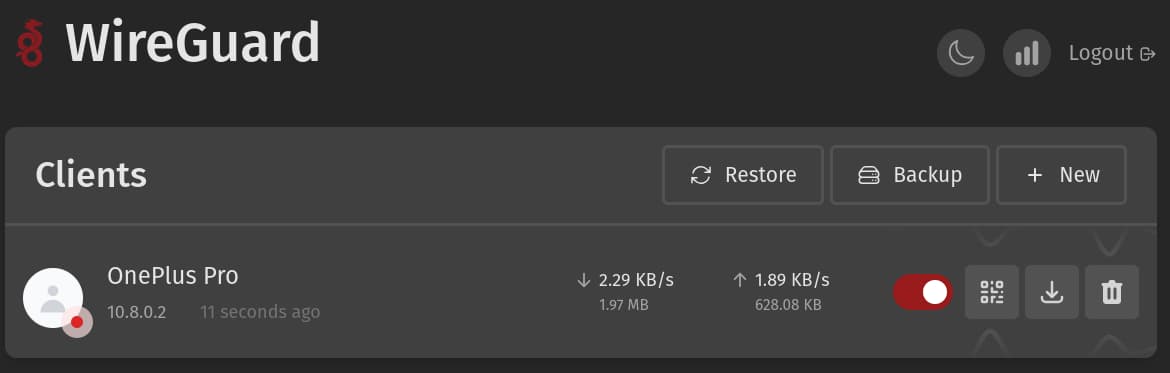
As the wg-easy instructions describe you should now be able to access the web interface at http://0.0.0.0:51821. Once there, make a new client and scan the QR code it offers onto your new device via your chosen client.
Port Forwarding
The ultimate test will be connecting while not on the same network. Everyone’s router is unique, but a little internet research will reveal how to add port forwarding to your device.
The device’s local IP address for the device Wireguard (wg-easy) is installed on will be needed. The router likely has a page of devices with their IP addresses that can be referenced.
Choose the correct IP, then add 51820 with the UDP protocol.
Note: If port 22 is enabled, optionally disable it as that enables SSH access without Wireguard. This is what makes it easy for unauthorized visitors to try to access our devices.
Putting it all together!
- Ensure Wireguard (wg-easy) is running
- From a device outside of the network (such as a phone not on WiFi) connect to Wireguard via a client
- Ensure Ports are forwarded in the router
- Connect via SSH at the same local IP address, likely looking something like
192.168.x.x
Having trouble? Check your SSH user (ssh myuser@192.168.x.x) and that Wireguard is enabled. Verify this works on WiFi as well without the Wireguard tunnel connected on the client device.